Projects
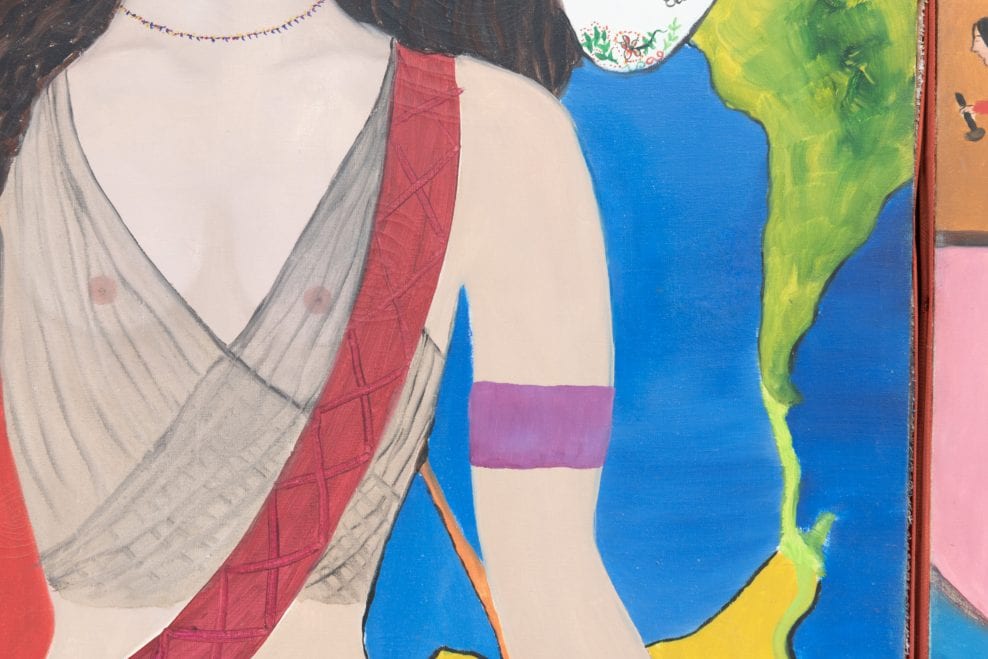
Full treatment of Cecilia Vicuña, Biombo, 1971
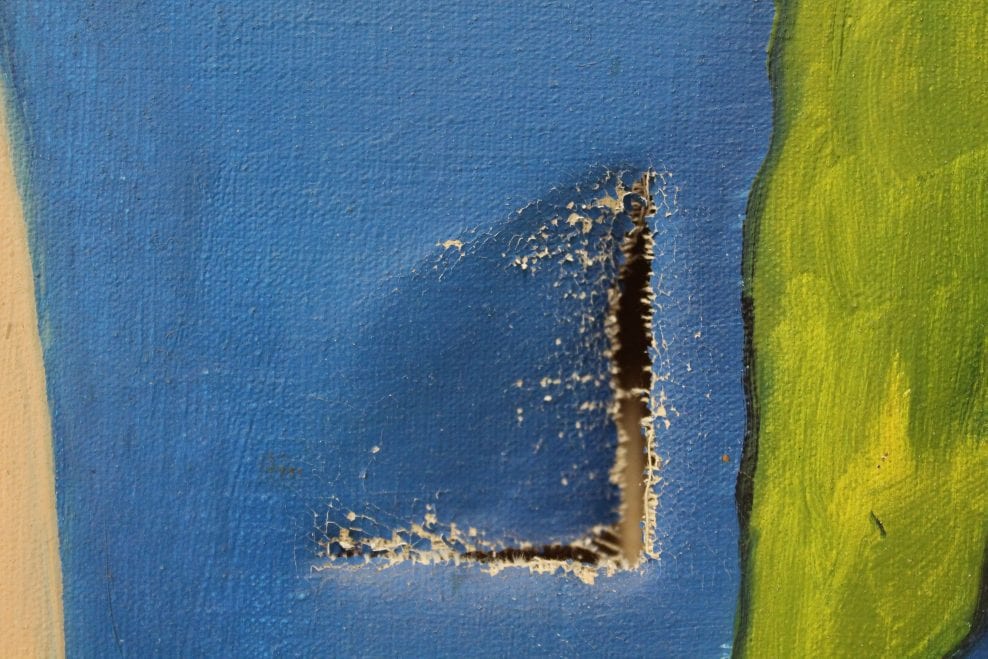
Full treatment of a 6 panel, double-sided canvas standing screen by the Chilean artist Cecilia Vicuña, in consultation with the artist, her gallerist and Tate curators for display at Tate Modern, London. The artist had been in exile from Chile for many years and the screen hidden away. It was suffering from being in poor storage conditions and was dirty with several large tears.
Cecilia Vicuña
Biombo Casita Para Pensar Qué Situación Real Me Conviene
1971
Oil on canvas on wooden stretchers, in 12 parts
12 panels, 155 x 55 cm (each), 155 x 659.99 cm (overall)
The front and back of each screen was photographed and the condition documented before treatment.
Cleaning and stabilising paint
The front of each individual painting was dusted with a soft brush and vacuum to remove loose particulate dirt. The painted surfaces were dry cleaned using smoke sponges. The front of each painting was then wet cleaned with aqueous methods using pH and conductivity adjusted water. This was carried out using blitz fix sponges or cotton swabs, depending on the vulnerability of the paint passages to mechanical action. The aqueous solution was tailored to address the sensitivity and surface dirt of individual colours following the modular cleaning program process.
Part 3 and Part 4 were found to have a porous ground layer that differed from the other paintings. This resulted in increased sensitivity to aqueous methods where the ground layer was exposed. These two parts were cleaned where possible with small damp cotton swabs, avoiding areas of exposed ground. Loose or vulnerable paint was found on Part A, C, D, 2, 3, and 4. These paintings were consolidated with 3% methyl cellulose in deionised water.
Structural Work
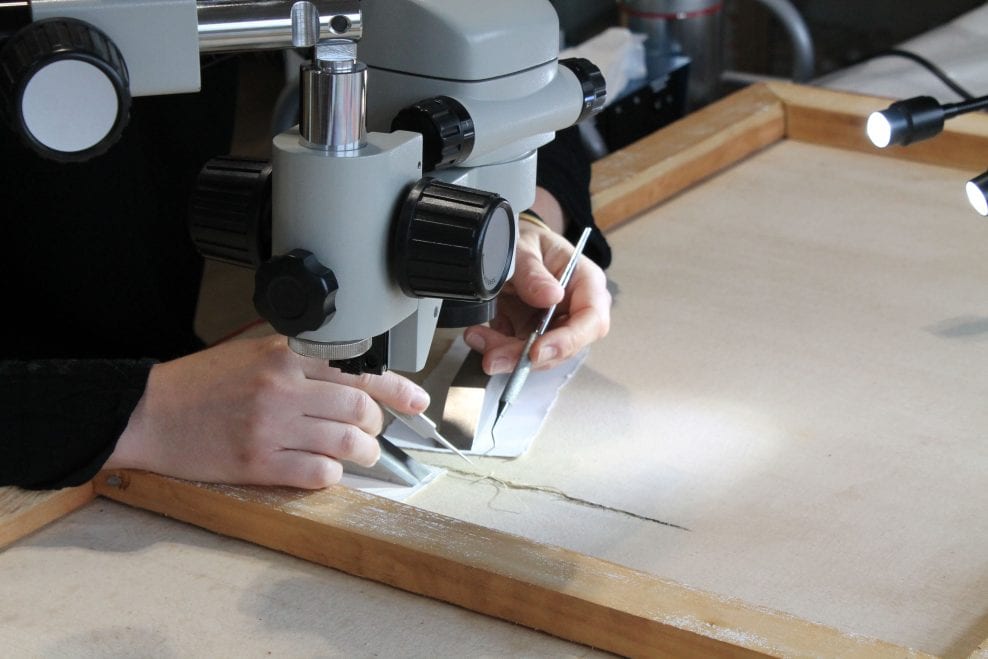
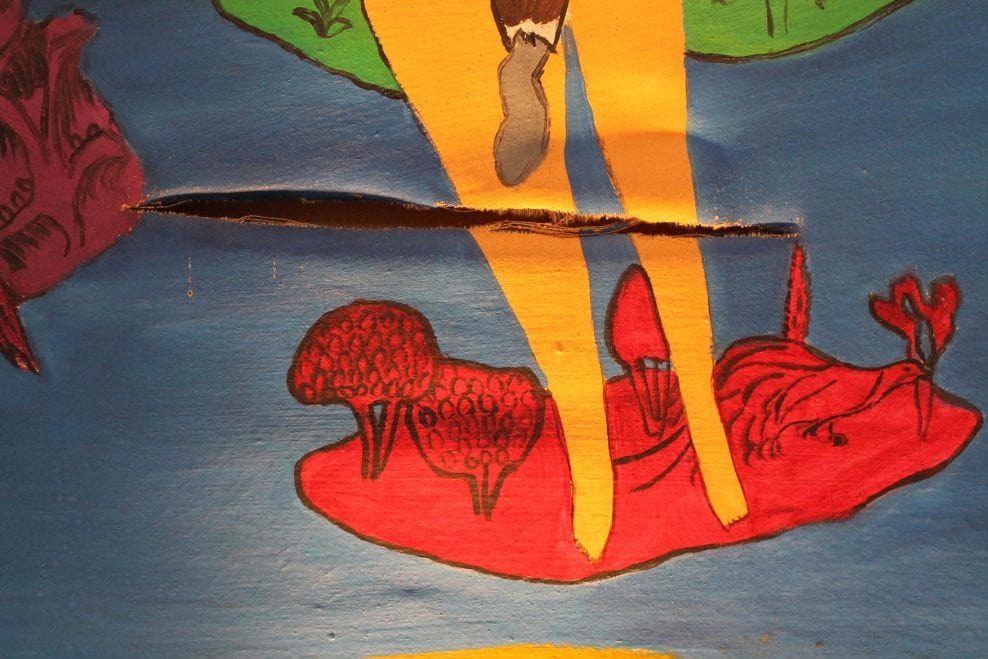
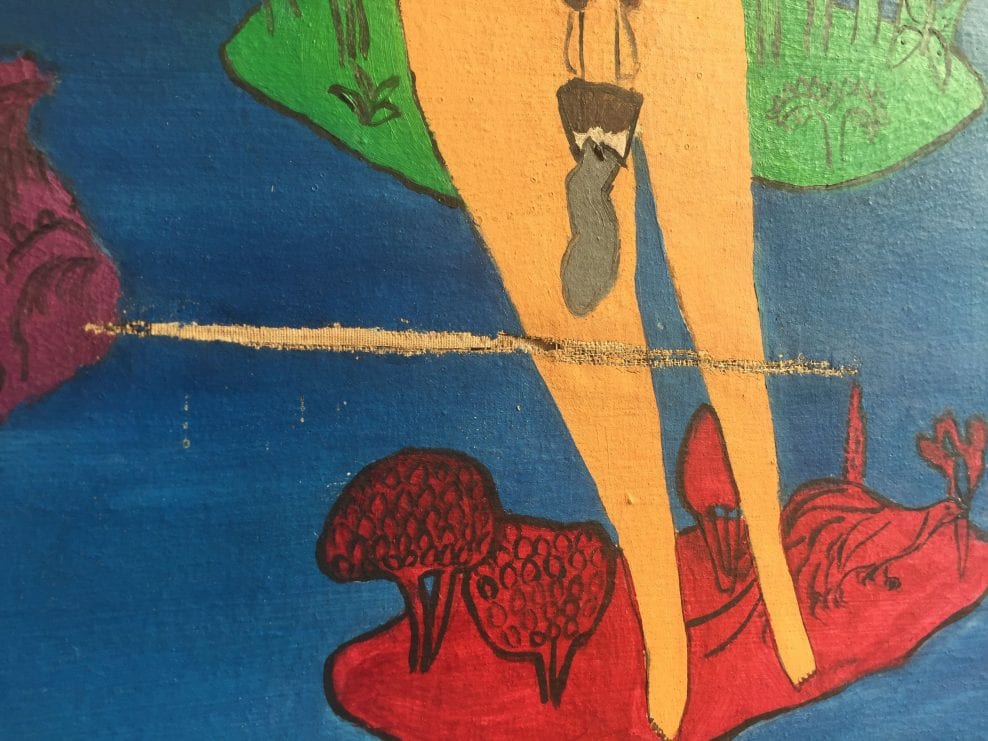
Before structural work was undertaken, the paired screens were separated by removing the rusted screws from one side of the adjoining hinges. Parts C and 2 were removed from the strainers to allow access to the reverse of parts A and 4 so as to complete tear repairs. The tack holes had been enlarged and worn over time due to exposure to rust. These were reinforced with BEVAtex patches that were applied using a heated spatula. Parts C and 2 were temporarily attached to a support comprised of mountboard and foam while they were unstretched. Planar distortions could be addressed on Parts A and 4 as the paintings opposite had been removed to allow access to complete tear repairs. Planar distortions were treated with the controlled application of moisture using slightly damp blotting paper. The restricted access meant distortions on parts B, E, 3, and 6 could not be addressed, because the corresponding paintings on the reverse were not removed. Canvases were only unstretched where absolutely necessary, due to the delicacy of the fabric and the enlarged tack holes. The three tears on part 4, and the tear on part A, were repaired using the Heiber reweaving method under the microscope, securing the fibres with a 1:1 mixture of wheat starch paste and sturgeon glue as the adhesive. (10% w/v wheat starch in deionised water : 20% w/v sturgeon glue in deionised water). Where necessary, supporting bridge threads (taken from stray threads along the canvas edge) were incorporated for extra support. Where there were gaps in the lattice, a putty comprised of pulverised canvas fibres and the wheat starch/sturgeon glue adhesive was used to fill the interstices to provide structural support and a base for the filling on the front. The smallest tear on part 6 was butt joined and did not require bridging threads.
The large horizontal tear in the centre of part 4 required an insert to bridge the gap between the two tear edges. A slim piece of canvas was taken from the bottom turnover edge where there was an excess of fabric. The insert was sized using 10% gelatine in deionised water, then attached using the Heiber reweaving method detailed above. The small tear on part 6 was addressed by first releasing the canvas in the top left corner by removing tacks locally. A board was slid through behind the tear to provide support, and the tear was mended from the front using the wheat starch/sturgeon glue adhesive. The small tear on part E was repaired by applying a paste of the 1:1 pulverised canvas fibres and the wheat starch/sturgeon glue adhesive to plug the canvas hole and to structurally secure the edges. Parts 1, 2, and 3 all exhibited areas of wear and canvas loss at the corners. These were repaired by inserting thin patches of BEVAtex, with the fabric side face down to the strainer and the BEVAfilm side in contact with the back of the canvas. These were made approximately 3-4mm wider than the losses on each side and tacked in place with a heated spatula. Small inserts were made, where required, for areas where the canvas was missing. Excess canvas fabric was taken from along the bottom turnover edges. Small additional pieces of BEVA film were added to the BEVAtex from the front, and the canvas inserts roughly shaped, positioned, tacked on and then carefully trimmed whilst in position to ensure an even appearance.
On part 1, there was a dent to the wooden strainer under the tear along the top edge, with lots of excess wood fragments. These were carefully cut away with a scalpel, and an insert of balsa wood was shaped and secured with Resin W PVA glue to the loss in the wood, prior to the tear mending being carried out. Any removed rusted tacks were replaced with new copper tacks, with a circular blotting paper interleaf between the canvas and tack head to protect the canvas should the tacks need to be removed in future.
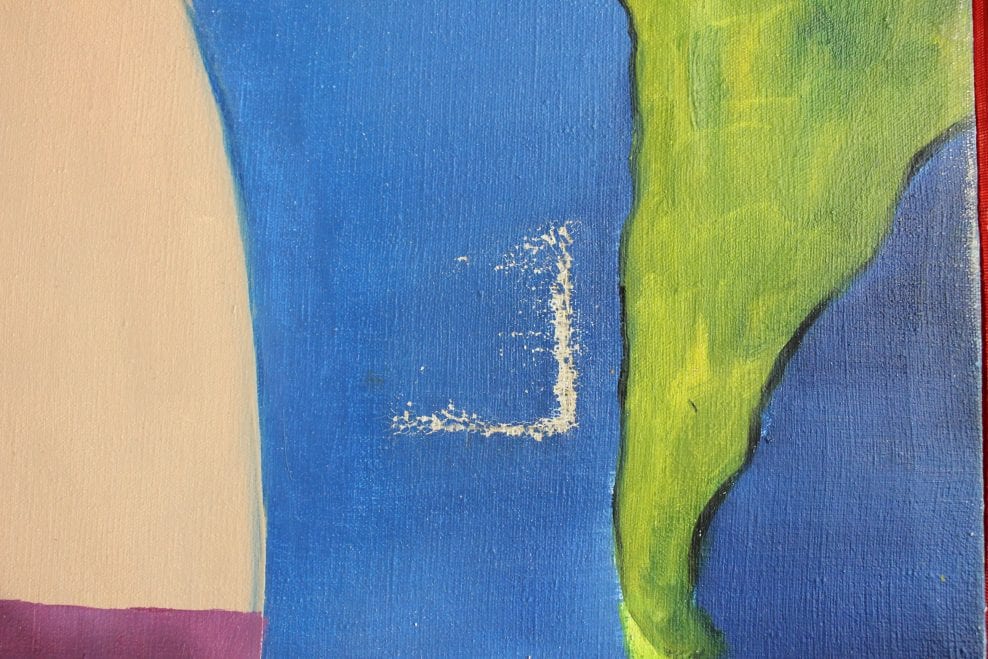
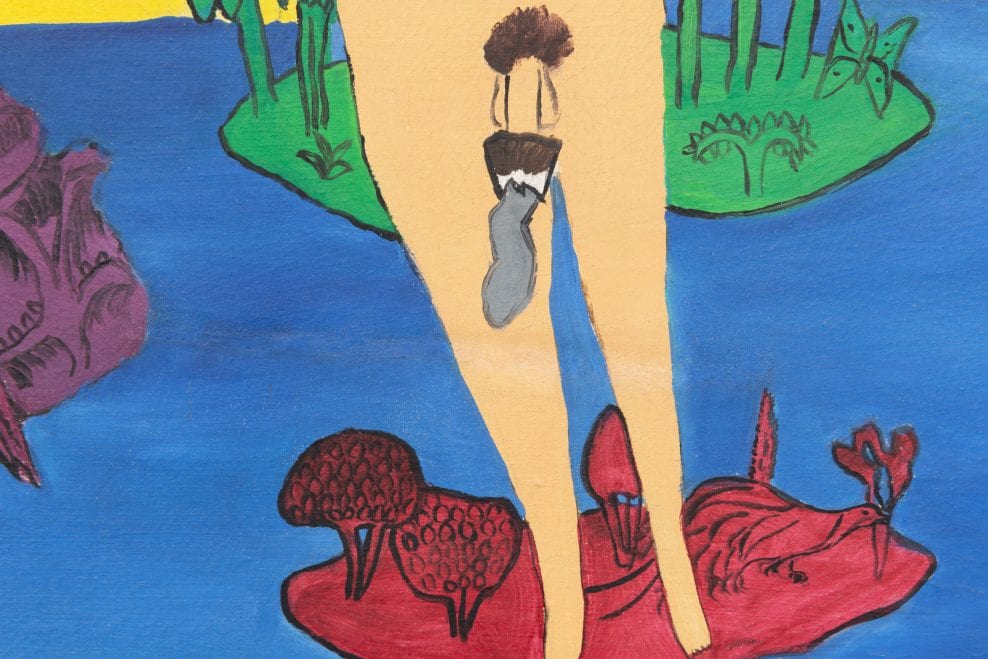
Aesthetic Finishing
Deep paint losses were filled with Mowiol 4-88 and chalk, and textured to match the original using small sable brushes and moisture. All works were photographed before areas of loss and abrasion were retouched. Retouching was carried out using QoR watercolours, a conservation grade retouching medium, as well as gouache and watercolour where required to achieve the desired colour or gloss match. Retouching focused on minimising wear and reintegrating areas of loss, such as the numerous tears and corner patches. Particular attention was assigned to reducing the transferred paint along the central horizontal stretcher bars, which had occurred when the screens had previously been stored closed. The red ribbon trimmings were treated by a textile conservator from Janie Lightfoot Textiles. Two of the ribbons were removed from the panels to be repaired while the remaining were treated still attached to the panels. Small areas of loss were supported using Stabilitex® (polyester crepeline) coated in an 18% solution of 50% Lascaux 498, 50% Lascaux 303 (conservation grade adhesive). When applied to the reverse of the silk the adhesive was reactivated using a heated spatula at 70 °C for 5 seconds. Silk ribbon was dyed using Deka Silk paint (colours Mohn and Siena). Larger areas were infilled using the dyed ribbon, neat Lascaux 498 and 303 (1:1) was applied directly onto the new silk, this was allowed to dry and reactivated using the aforementioned method. The damaged part of the adhered section of ribbon was mechanically released, this was supported onto the Stabiltex®, then stitched, using monofilament polyester thread to the dyes ribbon. Where the ribbon was loose between tacks, tabs of adhesive-coated Stabilitex® were secured to prevent the silk from sagging. The ribbons were tacked back onto the edge of the strainers using new copper tacks. The heads of the tacks were toned with gouache to match the original black tacks, then sealed with a 5% Regalrez coating.
All parts were reassembled and hinged together with new screws. A silicon rust reducer was applied to all the hinges. The artwork was photographed after treatment and condition reports and detailed images provided to Tate conservators for condition checking purposes.